

1.) Plugin your W65C02SXB via USB
Use a micro USB cable to plug your SXB into your computer. This will both power the board and provide a WDCTools development interface. The SXB has a built-in simple operating system called a Monitor which is located in the FLASH memory. The Monitor is always there and is the built-in interface that is all you need to get started with the WDCTools and your first project.
All of the SXBs have built-in 32K bytes of SRAM for program and data storage and 128K bytes of FLASH memory organized as 32K byte blocks for easy switching between applications, tasks, or saving precious data. Unlike the Apple, Commodore, and Atari systems, no floppy or hard drive is needed. You are free to use the low power solid state memory in ways you only might have dreamed of before.
The FLASH can be written right in the socket or pre-programmed in a FLASH chip programmer. The memory contained in these small boards are equal to or greater than the memory of some of your favorite legacy systems that used the 6502 microprocessor.
-Micro USB Cable NOT included
2.) Get Started with WDCTools
Get Started with WDCTools
-
Download WDCTools Install WDCTools and set update preferences with the installer
-
Download D2XX FTDI Driver
-
Download the WDC Programming Manual(not required but helpful resource)
-
Download XLEDFLASH Project (unzip into C:/wdc/W65C02SXB folder)
*Find WDCTools Support videos on YouTube
The WDCTools is NOT for resale or reverse engineering of our technology in any form and is NOT provided for the development of commercial products that use non–WDC 65xx processors in Core or Chip form.
Please see the W65C02SXB product page for technical information, Datasheets and more.
3.) Example Programs
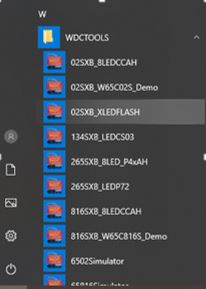
There are batch files and demo projects for each board. To access these files easily, go to your start menu and locate WDCTOOLS
Example projects will require some additional components to get you going. With the 02 and 816SXB’s you have a few options. Below are some links to project instructions or XMods to help move you forward.
Instructables Projects
Purchase XMods
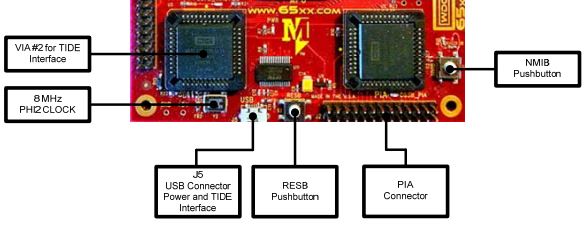
Next, we will get started with the W65C02SXB using a simple program to work with the flash of the 4 XCSxB LEDs that are on the board.

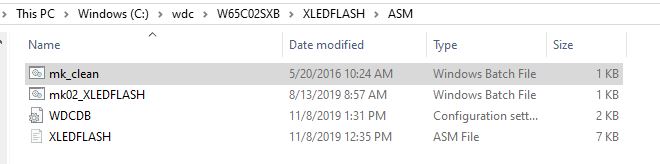
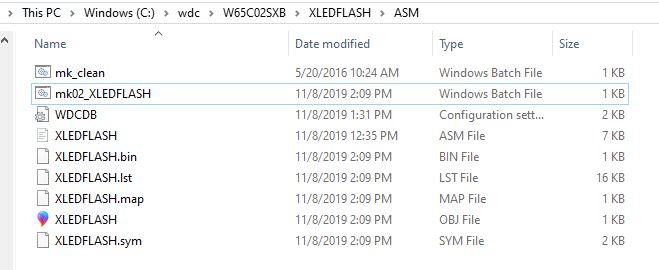
The project file is located at C:\WDC\W65C02SXB\XLEDFLASH\ASM\. This project has a batch file that will assemble and link the project. It will also launch WDCDB Debugger.
Double-click on the mk02_XLEDFLASH.bat file to execute the batch file.
Another method to run the BATch file is to select it from the Start Menu.
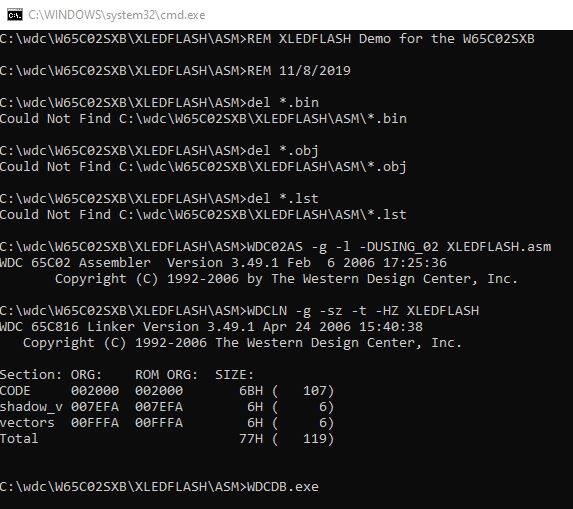
Once the batch file runs, a windows Command window appears. It will stay on the screen until you close it. It should be the same as below if everything ran correctly.
Back in your Windows Explorer window, you will see several new files were created. These include the .OBJ (Object) file that is used by the linker to make the .BIN (WDC Binary) file. The debugger uses the BIN file to load the program into the memory of the W65C02SXB. A listing file (.LST) file is also created. You can view that file in any text editor and see both your code and the corresponding assembled addresses, opcodes, etc.
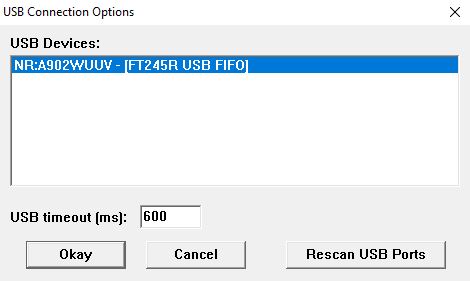
Another window that opens is the USB Options dialog box. This is very important for downloading programs into any WDC board using the WDCDB Debugger. If you do not have any other USB serial devices attached to your computer, you will only see one listing for your SXB board. Click on the name of the device, then click the Okay button.
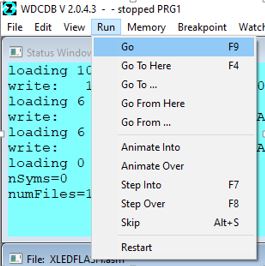
The WDCDB Simulator/Debugger will launch. Below is a screenshot of the configuration of the Debugger for our program. This is just an example of how you can set up your windows. The “Status” windows letting know where data is loaded, etc. The “Registers” windows show the current values within each of the W65C02S microprocessor registers. The “File” window displays the code used for the program. It also highlights the line of code that is located at the current location of the microprocessors program counter (upon loading, the program will start at $2000). We have one “Data” window open showing data at $2000. The data at $2000 is the program that we wrote. If the file window is not showing like below, there may have been a communication issue with the board. Hit the RESB (S2) Pushbutton to restart the board and then rerun the batch file.

Now that the board has the program uploaded to it, we are ready to run the program. To do so, click on the Run menu, then click on Go. You can also hit the F9 function key on your keyboard.
You should now see the XCS0B, XCS1B, XCS2B, XCS3B LEDs lighting up in a circular pattern starting with XCS0B. To stop this from running and returning control to the Debugger, press the S1 NMIB pushbutton (located on the right side of the board).
This is just a simple example and you can explore the various pin functions and features of the W65C02S, W65C21, W65C22, W65C51N chips.